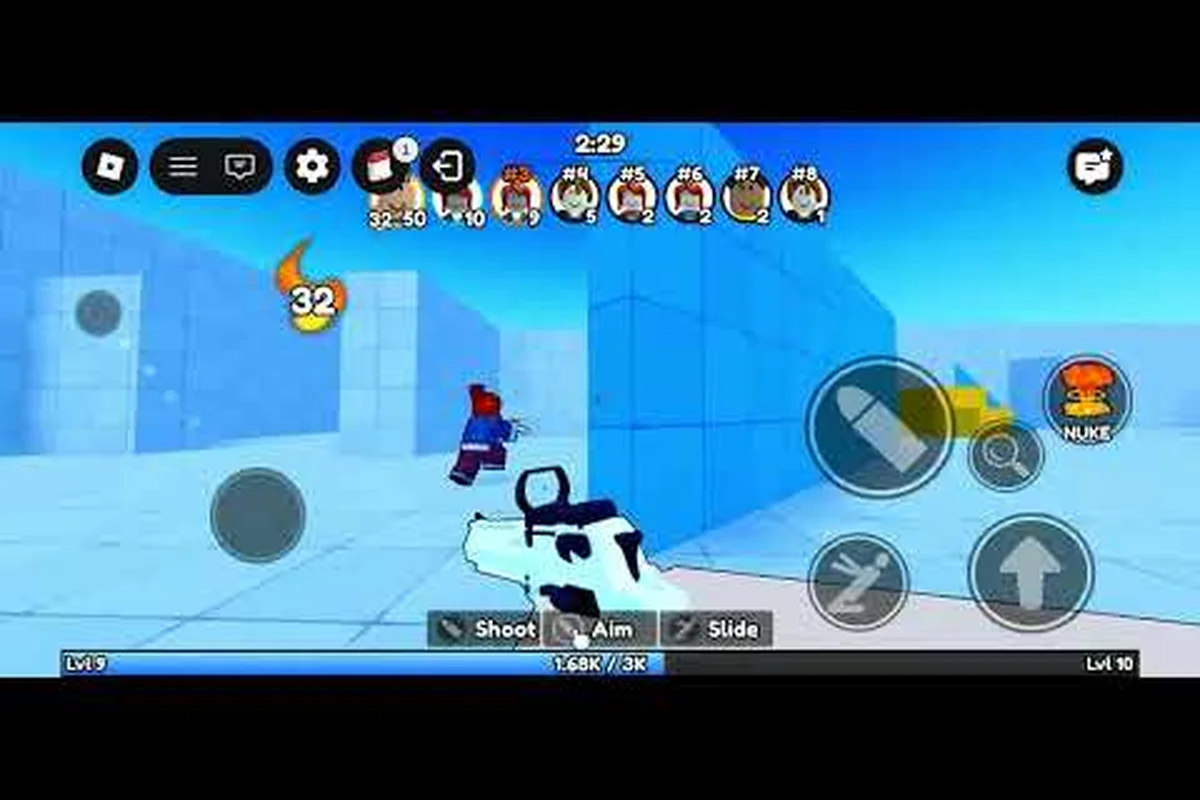
Winning a Deagle-only duel often comes down to who holds the better angle, and the deagle arena tricky spots scattered across the current rotation can flip a fight before your opponent even reacts. While raw aim matters, the players stacking 30+ kill streaks in FFA Deathmatch rely on precise wall positions that control sightlines, punish predictable slides, and create one-tap headshot opportunities. This breakdown covers the highest-value tricky spots on every active map, how to use them effectively, and why these positions matter more than raw flicking.
Why Tricky Spots Define Deagle Arena Map Gameplay
Deagle Arena is a fast-paced Deagle-only shooter on Roblox where every fight is a one-shot potential, and the deagle arena map gameplay rewards players who understand spatial advantages over those who just sprint and shoot. Because the max player count sits at 8 per server, spawns are frequent and rotations are chaotic, which means holding a strong wall position for more than a few seconds requires constant awareness of who is spawning behind you. The best players treat every wall, crate, and corner as a tool to reduce the number of angles they need to watch at any given moment.
The core principle is simple: deagle arena wall positions let you limit your exposure while maximizing the information you gain. When you peek from a tight angle, your hitbox appears later than your crosshair, giving you a fraction of a second advantage that often decides the duel. This is especially important on the deagle arena small map options like Frostbite, where close-quarters fights punish hesitation, while the deagle arena big map choices like Crimson Depot demand patience and vertical control.
Community reports from the official Deagle Arena Roblox page confirm that the game's slide mechanic (C/Ctrl on PC, B/O on controller) is the primary movement tool for aggressive players. However, sliding into an open lane without a plan is how you eat a headshot from someone holding a tricky spot. The key is combining movement with positional discipline, which is exactly what the following sections break down.
| Map Type | Player Count | Best Playstyle | Risk Level |
|---|---|---|---|
| Small Map (Frostbite) | 8 max | Aggressive sliding + corner peeks | High risk, high reward |
| Mid Map (Warehouse) | 8 max | Hybrid positioning + lane control | Medium risk |
| Big Map (Crimson Depot) | 8 max | Vertical angles + patient holds | Low risk, high reward |
High-Value Wall Positions on Small Maps
Small maps in Deagle Arena compress the action into tight corridors, which means deagle arena wall positions become the difference between surviving a spawn fight and instantly respawning. On Frostbite, the map's icy theme hides several spots that experienced players use to farm kills without exposing themselves to multiple lanes at once.
The Corner Anchor Near Mid Spawn
The most reliable tricky spot on Frostbite is the corner anchor just off the mid spawn point, where a low wall meets a crate stack. Standing here lets you watch the central lane while your back is protected by the map boundary. When you hear footsteps, you can slide out, fire one shot, and retreat behind the wall before the enemy's return fire lands. This position works because most players sprint through mid without checking corners, and the deagle arena small map design funnels them directly into your crosshair.
The Crate Stack Overwatch
On the opposite side of Frostbite, a crate stack overwatch position gives you sightlines over the lower corridor. Jump onto the first crate, then the second, and you can hold an angle that covers both the left and right approach paths. The tricky part is that you are exposed from behind, so this spot works best when you have spawn awareness. According to player testing, this position generates consistent headshot opportunities because enemies rarely look up when entering a room on a small map.
| Small Map Spot | Difficulty | Kill Potential | Risk of Flank |
|---|---|---|---|
| Corner Anchor | Easy | High | Low |
| Crate Stack Overwatch | Medium | Very High | High |
| Slide-Out Peek | Hard | High | Medium |
Dominating Big Maps with Vertical Tricky Spots
The deagle arena big map options like Crimson Depot and Rooftop reward players who control vertical space, and the tricky spots here are all about elevation advantage. When you hold a high angle, your opponent has to look up to find you, which slows their reaction time and gives you the first-shot advantage in every engagement.
The Rooftop Edge Hold
On Rooftop, the rooftop edge hold is one of the strongest deagle arena tricky spots because it covers the main courtyard below while keeping your back to the map boundary. Stand near the edge, aim down at the central lane, and wait for enemies to cross. The key is to avoid standing still for too long, since experienced players will pre-fire the common hold spots. Instead, strafe left and right along the edge, firing only when you have a clear shot.
The Depot Upper Floor
Crimson Depot's upper floor offers a depot upper floor position that overlooks the warehouse-style lower area. From here, you can watch the two main entry points while staying mostly hidden behind a half-wall. This spot is particularly effective because the deagle arena big map layout means enemies spawn far away, giving you time to reposition if the fight goes wrong. The trade-off is that you cannot see the stairs behind you, so a smart opponent will flank through the back entrance.
| Big Map Spot | Vertical Advantage | Coverage Area | Weakness |
|---|---|---|---|
| Rooftop Edge Hold | High | Main courtyard | Exposed from behind |
| Depot Upper Floor | Medium | Two entry points | Stairs flank |
| Desert Ridge Line | High | Long lanes | Slow repositioning |
Movement Tricks That Make Wall Positions Work
Holding a wall position is only half the battle; the other half is knowing how to move in and out of it without getting punished. The deagle arena map gameplay on every map rewards players who combine slide mechanics with precise peeking, and the following movement tricks are the ones that top fraggers use to make their tricky spots unreadable.
The Slide-Out Peek
The slide-out peek is the bread-and-butter technique for aggressive wall positions. Start behind cover, slide out while aiming at head height, fire one shot, and immediately slide back. This works because the slide animation makes your hitbox move faster than most players can track, and the Deagle's one-tap potential means you only need one shot to win the exchange. Practice this on the Deagle Arena map guide callouts to learn which walls have enough space for a full slide-out.
The Jump-Peek Over Low Walls
On maps with low walls, the jump-peek is a devastating trick that catches enemies off guard. Jump while moving toward the wall, fire at the apex of your jump, and land back behind cover. This gives you a brief window where your head is visible but your body is protected, and it works especially well on the deagle arena small map options where walls are plentiful. The downside is that you are airborne and cannot change direction, so only use this when you are confident about the enemy's position.
The Crouch-Walk Reposition
Sometimes the best move is to not move at all. The crouch-walk reposition involves crouching and slowly walking to a new angle while staying behind cover. This is most effective on the deagle arena big map layouts where sound cues are less reliable, and it lets you shift from one tricky spot to another without alerting nearby enemies. Combine this with the peeking guide fundamentals to master the art of silent repositioning.
| Movement Trick | Best Map Type | Difficulty | When to Use |
|---|---|---|---|
| Slide-Out Peek | Small Map | Medium | Aggressive duels |
| Jump-Peek | Small Map | Hard | Low wall holds |
| Crouch-Walk Reposition | Big Map | Easy | Flank avoidance |
Map-Specific Tricky Spot Breakdown
Each map in the current rotation has unique geometry that creates specific deagle arena tricky spots, and understanding these differences is what separates a good player from a great one. While the map list covers every arena, this section focuses on the spots that generate the most kills in practice.
Warehouse: The Container Gap
Warehouse's container gap is a narrow opening between two shipping containers that funnels enemies into a single-file line. Stand to the side of the gap, aim at head height, and wait for players to cross. Because the gap is tight, enemies cannot strafe effectively, making this one of the easiest headshot opportunities on any deagle arena maps rotation. The risk is that a skilled player can pre-fire through the gap, so keep moving between shots.
City Block: The Alley Corner
City Block's alley corner is a classic tricky spot where a wall meets a building entrance. Hold the corner tightly, peek out only when you hear footsteps, and fire a single shot before retreating. This spot works because the alley is a natural chokepoint that most players rush through without checking, and the deagle arena wall positions here give you full cover on three sides. The main threat is a grenade or a coordinated push from two enemies at once.
Desert: The Ridge Line
Desert's ridge line is a long, elevated strip that runs along one side of the map, offering sightlines over the open center. This is a deagle arena big map position that rewards patience, since you can see enemies approaching from far away and line up a shot before they even know you are there. The weakness is that repositioning takes time, so you need to commit to the spot or rotate early if the fight moves elsewhere.
Advanced Wall Position Strategies for Competitive Play
Once you master the basic tricky spots, the next step is learning how to chain them together into a rotation that keeps enemies guessing. The deagle arena map gameplay in competitive lobbies is much slower and more deliberate than public FFA, and the best players treat wall positions as a chess board rather than a shooting gallery.
The Camp Rotation That Stays Unpredictable
The rotation chain is a strategy where you move from one tricky spot to another in a predictable pattern, but with a twist: you never stay in the same spot for more than two kills. This prevents enemies from learning your position and pre-firing you. For example, on Warehouse, you might start at the container gap, get one kill, rotate to the upper catwalk, get another kill, then drop down to the corner near spawn. This keeps your movement unpredictable while maintaining positional advantage.
The Bait-and-Swap
The bait-and-swap is a more advanced tactic that requires a teammate or a good understanding of spawn patterns. You intentionally fire a shot from one tricky spot to attract attention, then quickly slide to a second position that covers the first one. When an enemy pushes your original spot, they walk directly into your crosshair. This works best on the deagle arena small map options where rotations are fast and enemies are aggressive.
The Sound Trap
The sound trap uses the game's audio cues to bait enemies into a specific wall position. Slide loudly in one direction, then crouch-walk back to your original spot. Most players will chase the sound, expecting you to be in the new location, and walk straight into your crosshair. This is a highly effective trick on the deagle arena big map layouts where sound travels further and players rely on audio more heavily.
| Strategy | Map Type | Skill Level | Kill Potential |
|---|---|---|---|
| Rotation Chain | All Maps | Intermediate | High |
| Bait-and-Swap | Small Map | Advanced | Very High |
| Sound Trap | Big Map | Advanced | High |
Frequently Asked Questions
What is the best tricky spot for beginners on Deagle Arena?
The corner anchor near mid spawn on Frostbite is the best starting point because it requires minimal movement and covers a single lane. Hold the corner, peek out when you hear footsteps, and fire one shot before retreating. This teaches the fundamentals of wall positioning without overwhelming you with multiple angles.
How do I avoid getting flanked while holding a wall position?
Always check your spawn awareness before committing to a spot, and never stay in one position for more than two kills. Use the crouch-walk reposition to move to a new angle quietly, and listen for footsteps behind you. On the deagle arena big map options, rotate early if you lose track of enemy spawns.
Are deagle arena tricky spots useful in competitive ranked matches?
Yes, but the playstyle shifts from aggressive to patient. In competitive lobbies, players are more aware of common spots, so you need to use the bait-and-swap and sound trap strategies to stay unpredictable. The deagle arena wall positions that work in public FFA still apply, but you must rotate faster and rely more on movement tricks.
What is the easiest map to learn wall positions on?
Warehouse is the easiest map to learn because its container-heavy layout creates clear chokepoints and natural cover. The container gap and upper catwalk spots are straightforward to hold, and the map's medium size gives you time to reposition. Once you master Warehouse, the skills transfer to the deagle arena small map and deagle arena big map options.
How often do the tricky spots change with map updates?
Map updates are rare but impactful, so re-test your Deagle Arena tricky spots after every major patch—geometry shifts can silently break a corner anchor on Frostbite or a container gap on Warehouse. Check patch notes before ranked, since developer tweaks often target reported wall positions.