
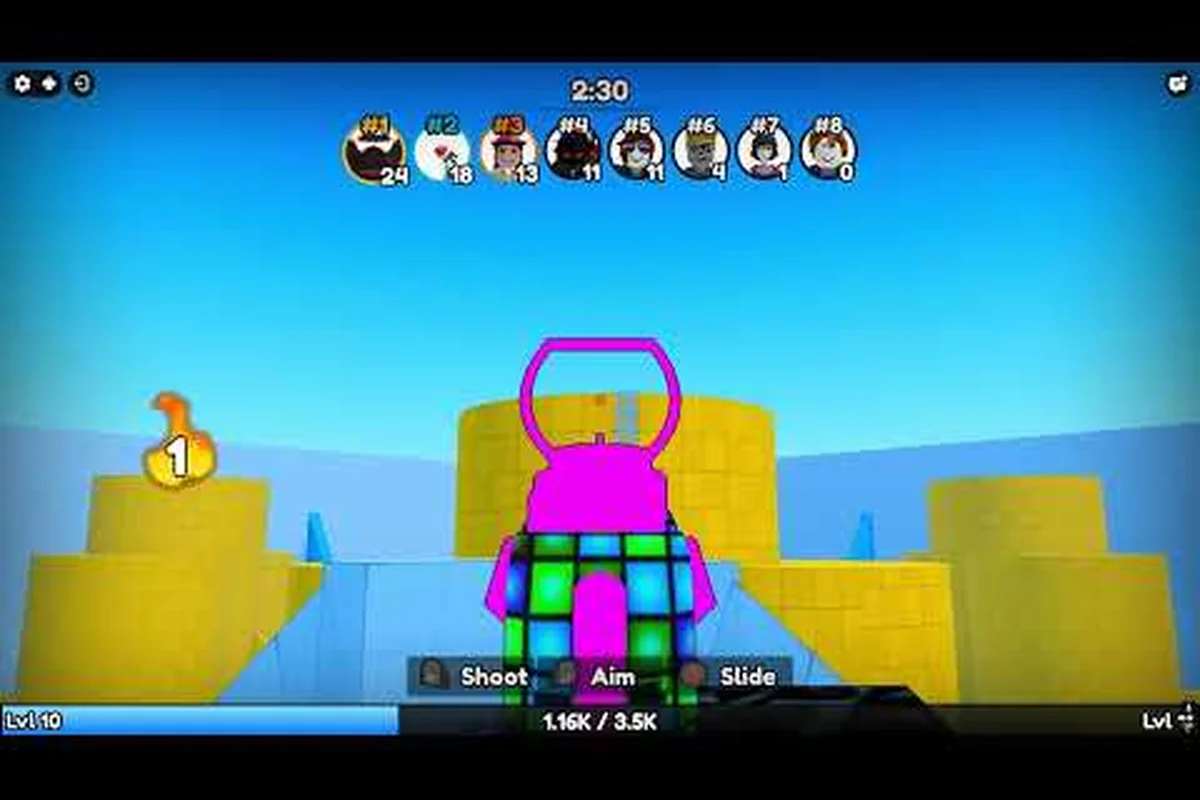
Knowing every arena before you queue is the difference between a 30-kill streak and a respawn screen. This deagle arena map list breaks down all current maps, their sizes, and which ones reward aggressive one-tap play, so you can adapt your aim and movement before the round even starts.
The official Deagle Arena page on Roblox describes the game as a fast-paced Deagle-only shooter with FFA Deathmatch and Competitive Ranking. Because every player carries the same weapon, map knowledge becomes the real skill ceiling. Understanding the deagle arena all maps rotation lets you pre-aim the right angles, control spawn zones, and farm kills efficiently instead of wandering into open sightlines.
Complete Deagle Arena Map List and Size Breakdown
The current rotation features five distinct arenas, each designed to test different mechanics. While the exact number of maps can shift with updates, community reports from the official group confirm these five as the core rotation as of August 2026. Each arena map in this deagle arena map list has a unique layout that changes how you approach duels.
| Map Name | Approximate Size | Engagement Range | Best Playstyle |
|---|---|---|---|
| Dust Alley | Small | Close to Mid | Aggressive sliding and corner peeking |
| Cargo Yard | Large | Mid to Long | Controlled positioning and pre-aiming |
| Neon District | Medium | Mixed | Fast rotations and vertical angles |
| Frost Depot | Medium | Close to Mid | Shot discipline and cover usage |
| Sandstorm Ruins | Large | Long | Patience and crosshair placement |
The deagle arena map locations are spread across distinct themes, from dusty western streets to futuristic neon hubs. Each map's visual design isn't just cosmetic; the color palette and lighting affect target acquisition, which is why players often report better performance on certain arenas depending on their monitor settings.
Dust Alley: The Close-Quarters Arena Map
Dust Alley is the smallest map in the rotation, featuring tight corridors and low cover walls. Because fights happen fast here, your crosshair should stay at head level at all times. The spawn points cluster near the two main entrances, which means you can predict enemy flow if you learn the timing.
Players who prefer slide-canceling into doorways dominate this arena. The map rewards first-shot accuracy over tracking, since most engagements resolve within two or three shots. Community testing suggests that holding the central container area gives you sightlines on both approach paths, making it the strongest defensive position on this deagle arena arena map.
Cargo Yard: The Long-Range Arena Map
Cargo Yard is the opposite extreme, with wide open spaces and shipping containers creating long sightlines. This is where crosshair placement matters most, because you often see enemies before they see you. The map features elevated walkways that let you control high ground, though they expose you to multiple angles.
Because the engagement range stretches far beyond Dust Alley, you need to lead your shots slightly when enemies are moving laterally. The headshot multiplier becomes your best friend here, as a single well-placed shot ends fights before they develop into tracking battles. Many players consider Cargo Yard the deagle arena best map for practicing accuracy under pressure.
Deagle Arena Map Rotation Schedule and Voting Logic
Understanding the deagle arena map rotation helps you prepare mentally before each match. The game uses a randomized rotation system, though the competitive mode includes a voting phase. According to player reports from the official Discord, the rotation shuffles after every match, with no map appearing twice in a row unless the vote overrides it.
| Mode | Map Selection Method | Rotation Behavior |
|---|---|---|
| FFA Deathmatch | Random | Full shuffle after each match |
| Competitive | Player Vote | Two random maps offered |
| Private Server | Host Choice | Manual selection |
| Event Mode | Fixed | Single map for event duration |
The voting system in competitive matches offers two random maps, and the majority vote decides the next arena. This creates a strategic layer where players who excel on specific maps can influence the outcome by coordinating with teammates. If you want to understand the deeper mechanics behind this system, our competitive map guide covers voting strategy and pre-match preparation in detail.
How the New Map Enters the Rotation
When the developers introduce a deagle arena new map, it typically enters the rotation with a higher appearance rate for the first week. This lets players learn the layout quickly while keeping matchmaking fresh. The most recent addition, Sandstorm Ruins, followed this pattern and appeared in roughly 30% of matches during its launch week, based on community tracking.
The map update cycle follows the game's patch schedule, which the developers announce through the official group. If you want to stay ahead of rotation changes, monitoring the group page is more reliable than guessing. New maps usually arrive with a gameplay trailer on YouTube, giving you a preview of the layout before it goes live.
Best Map for Different Playstyles and Skill Levels
Not every arena suits every player, and knowing your strengths helps you pick the right fights. This section ranks each map by difficulty and playstyle compatibility, giving you a practical deagle arena best map recommendation based on how you like to play.
| Map | Skill Floor | Skill Ceiling | Aggressive Rating |
|---|---|---|---|
| Dust Alley | Low | Medium | High |
| Neon District | Medium | High | Very High |
| Frost Depot | Medium | Medium | Medium |
| Cargo Yard | High | Very High | Low |
| Sandstorm Ruins | High | High | Medium |
Neon District: The Arena Map for Movement Players
Neon District stands out as the deagle arena best map for players who love movement mechanics. The map features multiple levels connected by ramps and jump pads, creating verticality that other arenas lack. Skilled players can chain slides into jump pad launches, appearing above enemies who expect a ground-level fight.
The neon lighting creates visual noise that can hide enemies in plain sight, especially near the glowing signs. This makes target acquisition harder, but it also means experienced players can use the environment to break line of sight. If you enjoy outmaneuvering opponents rather than out-aiming them, this arena rewards creativity.
Frost Depot: The Balanced Arena Map
Frost Depot offers a middle ground between the chaos of Dust Alley and the precision of Cargo Yard. The map features a central warehouse with multiple entrances, surrounded by icy paths that reduce friction slightly. This subtle movement difference can throw off your aim if you're not used to it, since your slide distance increases on the icy surfaces.
The cover density here is moderate, giving you options to retreat while still encouraging aggressive pushes. Players who master the warehouse interior can control the entire map, because the sightlines from the upper catwalk cover both main entrances. This makes Frost Depot a solid choice for players transitioning from casual to competitive play.
Map Locations and Key Callouts for Team Communication
Learning the deagle arena map locations includes memorizing the callouts that experienced players use. While the game doesn't have a built-in ping system, voice communication in competitive matches relies on shared terminology. The community has developed a standard set of callouts for each arena, which you can use to coordinate with teammates effectively.
-
Dust Alley: "Container" (central cover), "Alley" (east corridor), "Market" (west entrance)
-
Cargo Yard: "High Crane" (elevated walkway), "Dock" (south spawn), "Stack" (container cluster)
-
Neon District: "Rooftop" (upper level), "Club" (north building), "Sign" (glowing billboard area)
-
Frost Depot: "Catwalk" (upper warehouse), "Ice Path" (slippery exterior), "Bay" (loading dock)
-
Sandstorm Ruins: "Temple" (central structure), "Dunes" (open east side), "Canyon" (west corridor)
Using these callouts consistently improves your team's response time, because everyone knows exactly which position you're referencing. The map awareness you build from memorizing these locations translates directly into better positioning, since you can predict where enemies will appear based on the flow of each arena.
Tricky Spots and Wall Positions
Every map has hidden positions that give you an advantage, though they require practice to master. The wall positions in Cargo Yard, for example, let you peek containers with minimal exposure, while Dust Alley's corner spots reward players who pre-fire common push angles. Our tricky spots guide breaks down these advanced positions with timing details.
These spots aren't just about hiding; they're about controlling engagement timing. When you hold a strong position, you force enemies to approach on your terms, which gives you the first-shot advantage. The best players rotate between several spots rather than camping one, because predictable positioning gets punished by experienced opponents.
Deagle Arena Map Strategy: Control the Angles
Mastering any arena map requires understanding how positioning affects your duels. The core principle is angle control — you want to see enemies before they see you, which means holding angles that limit their options while maximizing yours. This section covers the strategic framework that applies across all maps in the deagle arena map list.
Controlling Spawn Zones for Kill Farming
Spawn points follow predictable patterns based on player count and map flow. In FFA Deathmatch, the game tries to spawn you away from active fights, but the limited spawn points mean you can predict where enemies will appear. By positioning yourself between two spawn zones, you create a kill funnel that feeds you targets.
The key is timing your rotations so you arrive at a spawn zone just as enemies appear. This requires tracking the kill feed and understanding how long players typically survive. Aggressive players who master this rhythm can sustain 20+ kill streaks, as demonstrated in community gameplay highlights like the 30+ kill streak video on YouTube.
Adapting Your Playstyle to Each Arena Map
Different maps demand different approaches, and rigid playstyles get punished. On Dust Alley, you need to be aggressive because the map is small and fights happen constantly. On Cargo Yard, patience pays off because you can control sightlines from distance. Recognizing when to switch between these modes is what separates good players from great ones.
The adaptation process starts before the round begins. When you see the map loading, remind yourself of its key characteristics: engagement range, cover density, and verticality. This mental preparation helps you adjust your sensitivity and movement patterns immediately, rather than spending the first few deaths relearning the arena.
How Map Updates and Additions Roll Out
The deagle arena map rotation isn't static, and staying informed about changes gives you a competitive edge. The developers regularly update the game, and map changes often accompany major patches. According to the Roblox Games API data, the game was updated on August 7, 2026, with over 56 million visits and roughly 21,000 concurrent players, showing an active development cycle.
| Update Type | Typical Frequency | What Changes |
|---|---|---|
| Balance Patch | Monthly | Cover adjustments, spawn tweaks |
| New Map | Every 2-3 months | Adds to rotation pool |
| Visual Update | Seasonal | Lighting and texture changes |
| Rotation Change | With patches | Removes or adds maps |
The map update history shows that the developers listen to community feedback. When players reported that Cargo Yard favored camping too heavily, a patch added additional cover routes to break up sightlines. This responsiveness means your feedback on the official group can influence future changes.
Where to Find Map Rotation Announcements
The most reliable source for rotation changes is the official Roblox group page, where the developers post patch notes. YouTube also serves as a platform for map previews, with content creators showcasing new arenas before they hit the live rotation. Following these channels ensures you never get caught off guard by a new map.
For players who want to maximize their in-game earnings while learning new maps, redeeming active codes can provide free cash to spend on skins. Our codes guide tracks the latest working codes, giving you extra resources to customize your Deagle as you practice on unfamiliar arenas.
Frequently Asked Questions
How many maps are in the deagle arena map list?
The current deagle arena map list includes five maps: Dust Alley, Cargo Yard, Neon District, Frost Depot, and Sandstorm Ruins. This rotation can change with updates, so checking the official group page after patches is the best way to confirm the active map pool.
What is the deagle arena best map for beginners?
Dust Alley is the best starting point because its small size limits the angles you need to watch, letting you focus on aim and movement fundamentals. The close-range fights also match the Deagle's strengths, so you can build confidence before tackling larger arenas.
How does the deagle arena map rotation work?
FFA Deathmatch uses a random rotation that shuffles after every match, while competitive mode offers a player vote between two random maps. Private servers let hosts choose manually, and event modes sometimes lock a single map for the event duration.
Are there any deagle arena new map plans?
The developers have not announced a specific release date for the next map, but based on the update cycle, a new arena typically arrives every two to three months. Community speculation suggests the next map may feature an industrial theme, though this remains unconfirmed.
Do map locations affect rewards in Deagle Arena?
Map selection doesn’t alter rewards, but higher kills on any deagle arena map list boost your level and leaderboard rank. Mastering all maps in rotation ensures steady performance, so you’re not caught off guard by unfamiliar layouts. Which arena trips you up most—share your counter-strategy below!