Maps
Deagle Arena map knowledge guide — spawn awareness, sightlines, flank routes and cover control that turn a decent aimer into a map-control monster.
Introduction
Map knowledge is the hidden skill that separates good aimers from true FFA monsters in Deagle Arena. While the Deagle gives everyone identical firepower, the maps map out where fights happen, where spawns push, and which angles reward a patient headshot. Because Deagle Arena is a fast-paced arena shooter, every map plays around a handful of core concepts: controlling the middle, peeking the long sightlines, and using cover to reset losing duels. Official map names rotate with updates, so this guide focuses on the durable archetypes — the main arena, small maps, large maps, close-range layouts and long-range layouts — and teaches the general tactics that apply to each. You will learn how to read spawn pressure, hold sightlines without getting caught, rotate through flank routes to catch kill streaks, and judge when to take a fight or retreat to cover. Mastering these fundamentals turns map knowledge into a real combat advantage.
Arena Map Archetypes
| Archetype | Size | Playstyle |
|---|---|---|
| Main Arena | Medium | Balanced sightlines, flanks and the most played FFA battleground |
| Small Map | Small | Fast, chaotic fights built for slide duels and quick one-taps |
| Large Map | Large | Long sightlines reward crosshair patience and rotation |
| Close-Range Layout | Tight | Corners, cover and hip-fire duels up close |
| Long-Range Layout | Open | Headshot lanes dominate — hold angles and spawns |
Map Playbook
Main Arena
Small Map
Large Map
Close-Range Layout
Long-Range Layout
Core Mechanics
Deagle Arena maps are arena-based FFA battlegrounds built around spawns, sightlines and cover. The main arena is a balanced medium map with multiple lanes, while small and large variations skew the pace of fights. Spawns push toward open floor, so holding a sightline near spawn zones catches freshly spawned players. Cover lets you reset losing duels instead of dying. Map rotations change with updates, so the archetypes — close-range, long-range, small, large — matter more than specific names until official names are verified. Good map players read the flow of the fight and reposition constantly, treating each lane like a resource that rotates between safe and dangerous, which turns arena knowledge into a repeatable combat advantage that no amount of raw aim can fully replace.
Advantages
Map knowledge multiplies your skill with zero extra grind — learning spawns and sightlines makes every duel easier. The arena archetypes stay consistent across rotations, so tactics transfer every time the map pool changes. Cover-heavy layouts reward smart play over raw aggression, and controlling the middle of the main arena is a reliable kill-farming strategy. Even on the smallest map, flank routes create opportunities to catch kill streaks and protect your own. This knowledge costs nothing to acquire and never expires, which makes it one of the highest-return investments a player can make in their first week with the game.
Challenges
On small maps, spawns flip constantly and players can be ambushed from any direction, which feels chaotic to newcomers. Long-range layouts punish players who refuse to hold angles, and large maps waste time if you path poorly. Because official map names are not fully verified, guides must use archetypes rather than specific callouts, which is less precise. Veteran players memorise every spawn and angle, making map knowledge a barrier that new players must climb. Because specific callouts depend on unverified map names, coordinated squads cannot rely on shared terminology until official maps are announced, which slows team-based play slightly. New players should therefore expect a brief orientation period before the map knowledge advantage starts paying dividends.
Frequently Asked Questions
Why does map knowledge matter when everyone has the same gun?+
Are there official map names?+
Should I camp or rotate?+
Quick Tips
Learn where spawns feed first. In FFA Deathmatch, spawns push toward areas with the most open floor, so holding a long sightline near those zones lets you catch freshly-spawned players with your first headshot before they can react. Players who adopt this habit consistently report faster improvement and more positive sessions, making it one of the highest-impact small changes you can make to your everyday play.
Treat every fight as optional. If the duel looks lost, slide behind cover and reset instead of spraying into a losing angle. Players who survive to fight again keep their kill streaks alive and their K/D healthy. Players who adopt this habit consistently report faster improvement and more positive sessions, making it one of the highest-impact small changes you can make to your everyday play.
Rotate through flank routes when your current lane goes quiet. If the kill feed stops near you, enemies are likely fighting elsewhere — reposition to the action rather than waiting for a fight that will never come. Players who adopt this habit consistently report faster improvement and more positive sessions, making it one of the highest-impact small changes you can make to your everyday play.
Featured

Deagle Arena Map Guide: Callouts, Spawns & Camp Spots
Master Deagle Arena maps with our complete guide. Learn callouts, spawn points, camp spots, and map size data to dominate every FFA Deathmatch lobby.
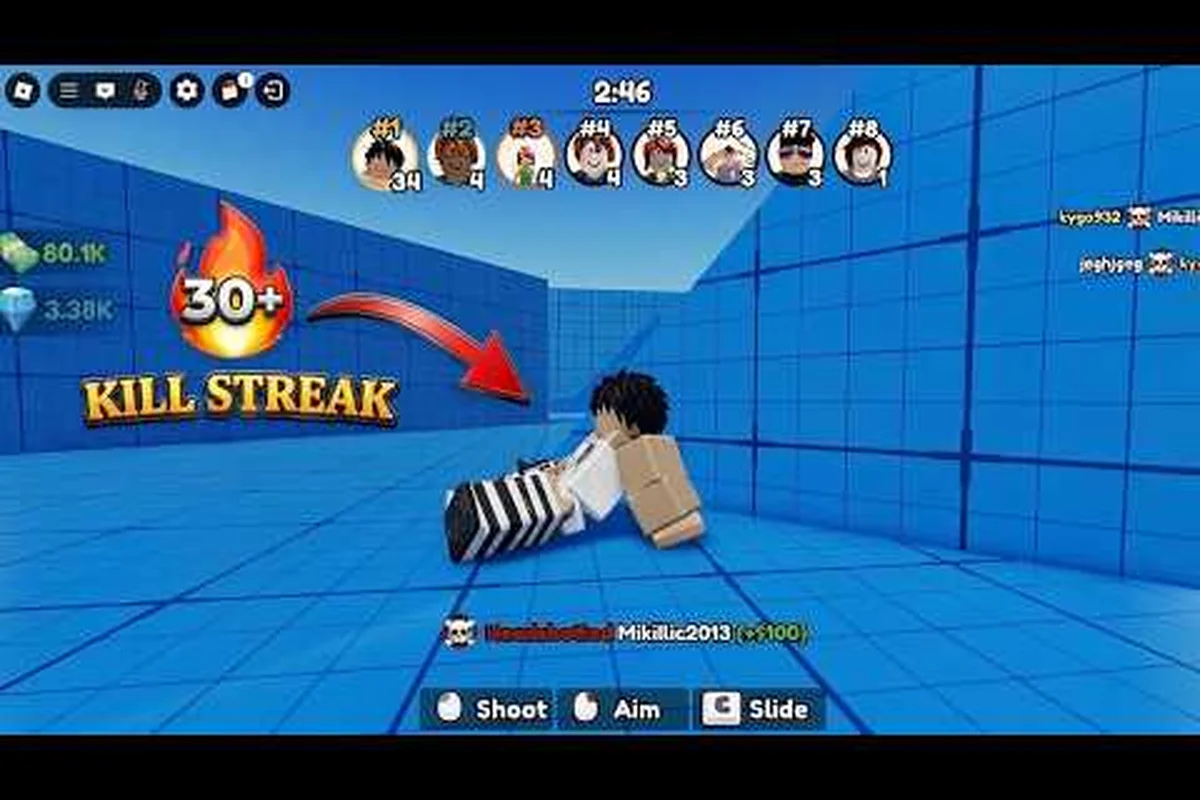
Deagle Arena Best Map for Kills: Top 5 Ranked Arenas
Find the deagle arena best map for kills with our ranked breakdown. Compare layouts, learn map control, middle control, and flank routes to boost your kill count.

Deagle Arena Competitive Maps: Master the Map Pool
Deep dive into Deagle Arena competitive maps: map pool rotation, voting strategy, layout breakdowns, and how to dominate every arena in ranked play.
All Articles

the game Deagle Arena Long Range Map Guide for Sharpshooters
Master the best deagle arena long range map with rooftop, warehouse, city, and desert callouts. Get positioning tips, map tier list, and update notes.
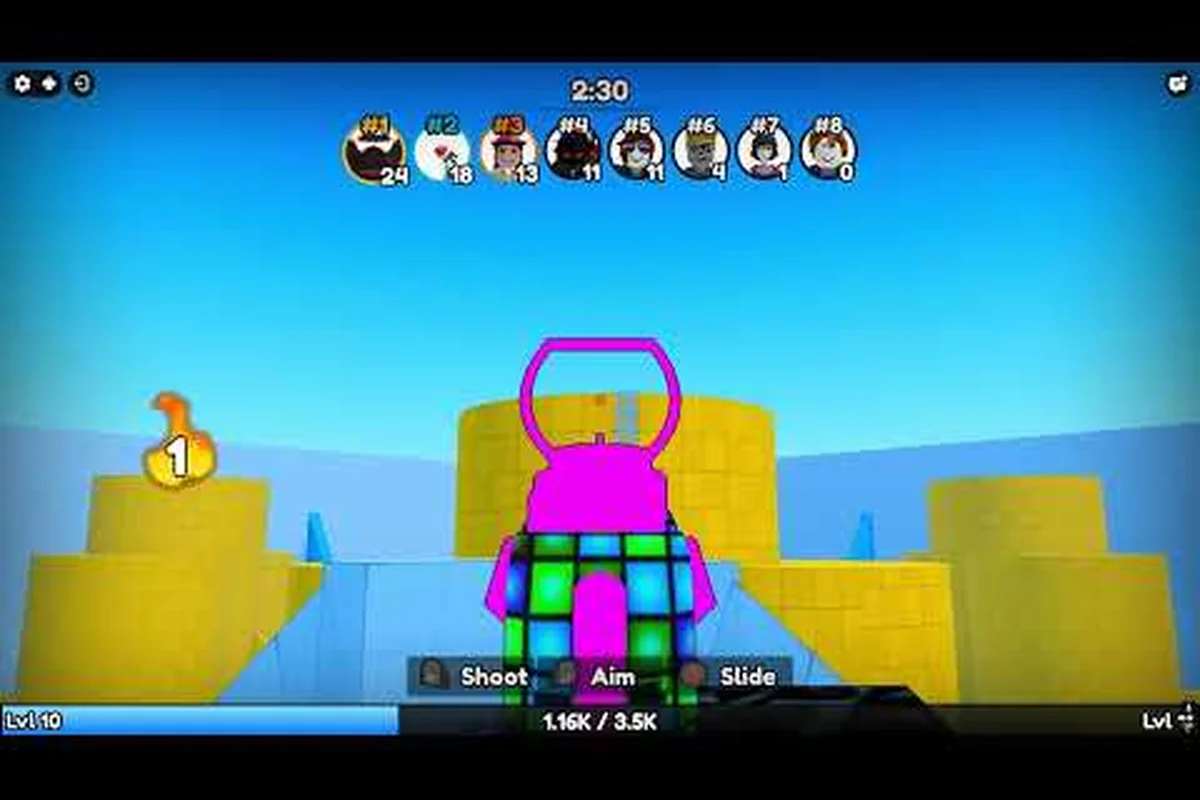
the game Deagle Arena Map List: All Arenas Ranked for 2026
Complete deagle arena map list with every arena, size breakdown, rotation schedule, and the best map for aggressive play. Learn map locations and tactical tips now.
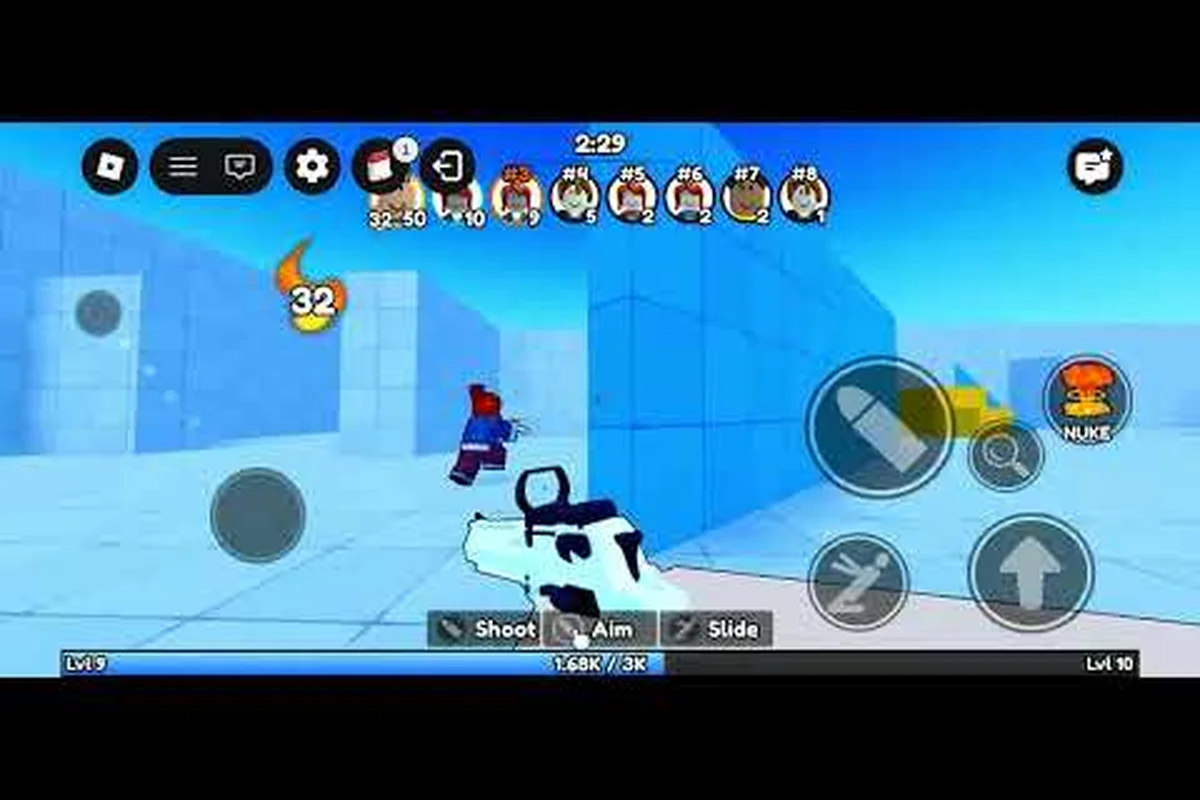
Deagle Arena Tricky Spots: Wall Positions That Win Duels
Discover the best deagle arena tricky spots and wall positions to dominate FFA matches. Learn map-specific angles, movement tricks, and advanced peeks that win duels.